

A practical guide to straight mowing lines, clean lawn stripes, and a better-looking yard.
You finish mowing, put the mower away, and step back to look at the lawn. The grass is shorter. The yard looks cleaner. But something is missing.
Down the street, another lawn has those crisp, alternating stripes running across it. The whole property looks more polished, even though the grass appears to be the same color as yours.
How do they get that look?
Lawn striping comes from the direction grass blades bend and how they reflect light. Equipment helps, but the finished result also depends on your mowing technique, the condition of the lawn, and the pattern you choose.
For homeowners, the best place to start is with a simple set of straight stripes. Once you understand how to create them, you can work on sharper contrast, cleaner turns, and more decorative patterns.
At PHR Landscapes, we believe a well-maintained lawn helps bring the entire property together. This guide explains how to work toward that finished appearance while keeping proper lawn care at the center of your routine.

The Quick Answer: How Do You Stripe a Lawn?
To stripe a lawn, mow parallel rows in alternating directions while keeping the cutting height consistent. A compatible striping attachment helps bend the grass across each pass, making the light-and-dark pattern more noticeable.
Start with a straight reference line, overlap adjoining passes slightly, and turn carefully at the ends. Practice on established grass that is ready for mowing.
The stripes come from the direction the grass bends, not just cutting alternating rows at different heights.
Know Before You Mow:
What Makes Lawn Stripes Look Light and Dark?
The light and dark bands are an optical effect:
- Grass bent away from you generally looks lighter.
- Grass bent toward you generally looks darker.
Walk to the opposite end of the lawn, and the appearance can reverse. Sunlight and viewing position also affect how strongly the pattern shows.
This explains why a lawn can look beautifully striped from the driveway but much less dramatic from a side window. Both views show the same grass; you are simply seeing it from different angles.
A striping attachment strengthens the effect by bending the leaves more consistently. It does not dye the lawn or change the grass’s actual color.
What Do You Need to Stripe a Lawn?
Start with a mower suited to your property, a sharp blade, and an adjustable cutting height. You do not need a commercial riding mower to begin practicing.
There are two separate goals to consider: mowing straight rows and creating strong stripe contrast. You can work on the first immediately, even if your current mower produces a subtle pattern.
| Equipment | What it contributes |
|---|---|
| Walk-behind mower | A manageable starting point for learning consistent passes |
| Riding mower | Covers larger areas, with more space needed for turns |
| Sharp mower blade | Supports a clean cut rather than ragged leaf tips |
| (Optional) Striping roller or other striping attachment | Helps lay grass in a consistent direction across the pass |
Before purchasing any random striping attachment, confirm compatibility with your exact mower model. Follow its installation, operating, and weight instructions.
Excessive pressure from a striping attachment can damage turf.
Start With a Lawn That Is Ready for Striping
A clean pattern is easier to appreciate when the underlying lawn has reasonably consistent coverage.
Bare areas, mixed patches of weeds, and uneven growth can interrupt the visual effect. Before blaming your technique, look at what you are mowing.
Ask yourself:
- Is the grass established and actively growing?
- Are some sections thin, muddy, or heavily worn?
- Does the lawn have noticeable bumps or depressions?
- Are weeds creating patches of different height and texture?
- Is the grass growing well enough to need a cut?
If the lawn is dominated by weeds, our guide to common lawn weeds in New Jersey can help you understand the conditions behind them.
For a lawn with widespread bare areas or repeated failure, seed versus sod and lawn renovation may be the more useful starting point.
You can still practice straight mowing on an imperfect lawn. Just set realistic expectations for the finished appearance.
How to Stripe a Lawn Like a Professional
1. Choose a Simple Pattern and Starting Area
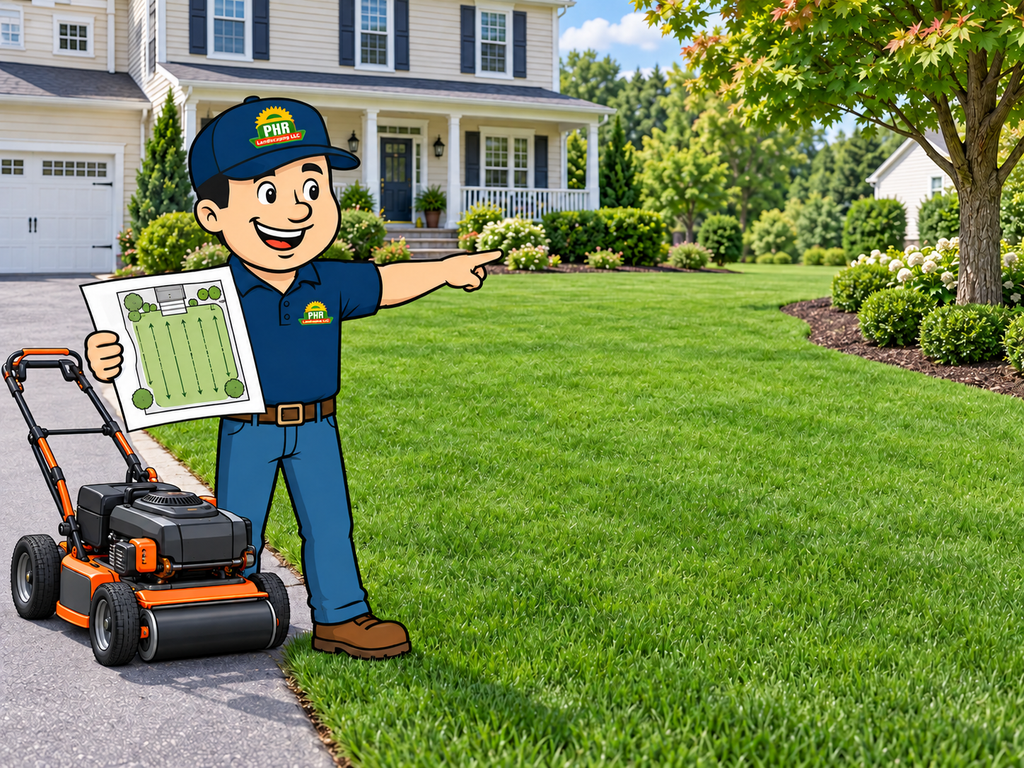
For your first attempt, choose the largest uncomplicated section of lawn. A rectangular area with a straight driveway or walkway nearby is easier to plan than a narrow space filled with trees and curved beds.
Start with basic parallel rows.
Before starting the mower, decide where the rows will run and where you will turn. Think about the view you want to improve: from the street, front entrance, or patio.
Choose a route that suits the property and your mower’s operating requirements. On slopes, follow the manufacturer’s mowing guidance even if that means changing your preferred pattern.
2. Clear the Lawn and Check Conditions
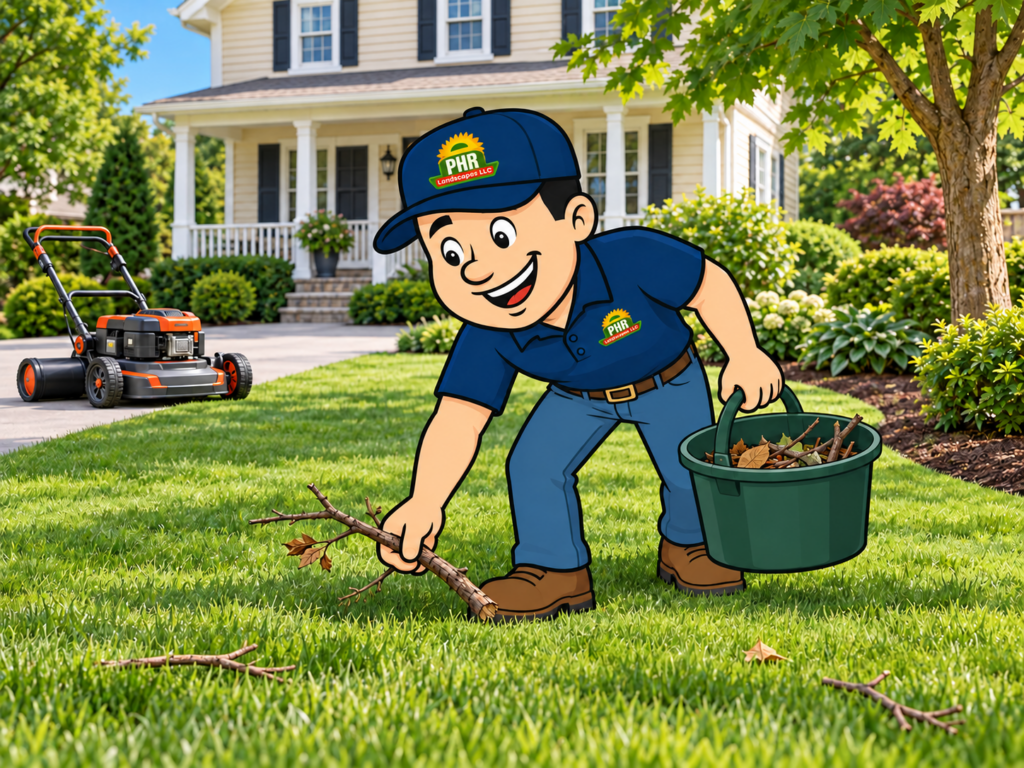
Pick up branches, toys, stones, and other objects. Locate obstacles such as exposed roots and sprinkler heads before choosing your route.
For a beginner, dry grass and firm ground make the job more manageable. Wet clippings are more likely to clump, and a soft lawn is a poor surface for repeated mower traffic.
If the yard remains muddy long after rainfall, investigate the moisture problem before concentrating on stripes. Our guide to why water pools in a yard explains several possible causes.
Purdue Extension recommends mowing when grass is dry to help prevent clumping.
3. Set a Suitable Mowing Height
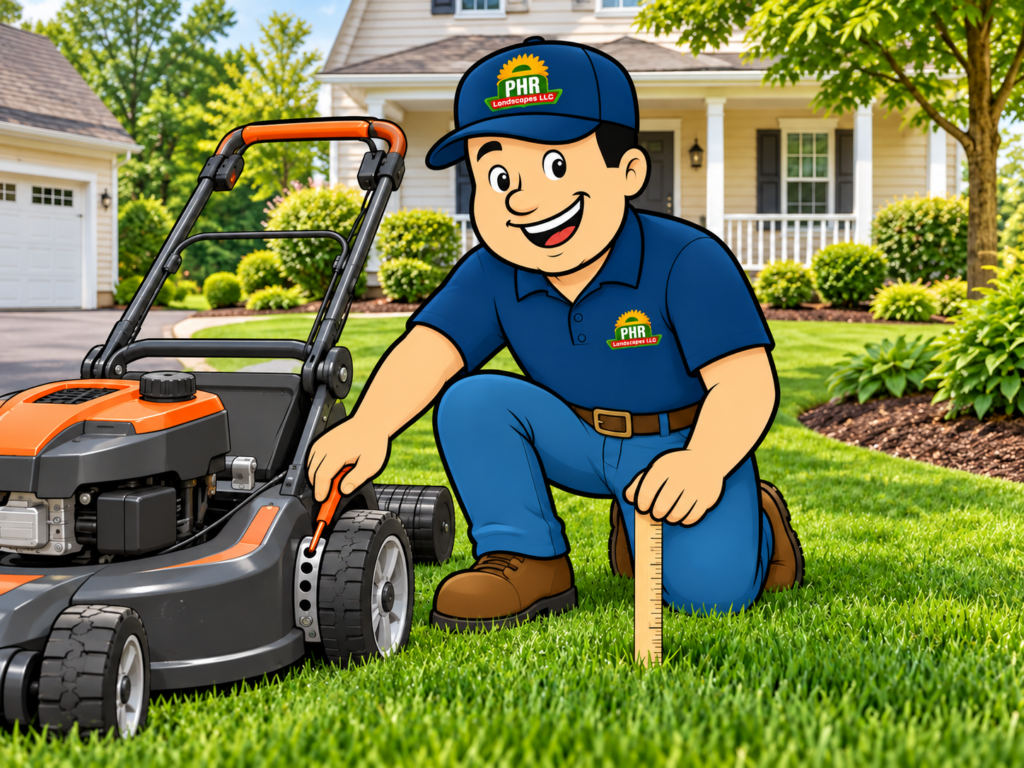
Keep one consistent cutting height across the striped area.
For many established cool-season home lawns, approximately 3 to 3½ inches is a useful starting range. Your grass species, growing conditions, and seasonal needs should determine the final setting.
Follow the one-third rule: remove no more than one-third of the grass blade in a single mowing. For example, cutting a 4½-inch lawn to 3 inches removes one-third of its height.
If the lawn has become overgrown, return it toward its normal height gradually instead of forcing it down in one aggressive cut.
Measure a few areas after mowing to check the result. A numbered mower setting does not always equal that number of inches.
4. Establish a Border for Turning
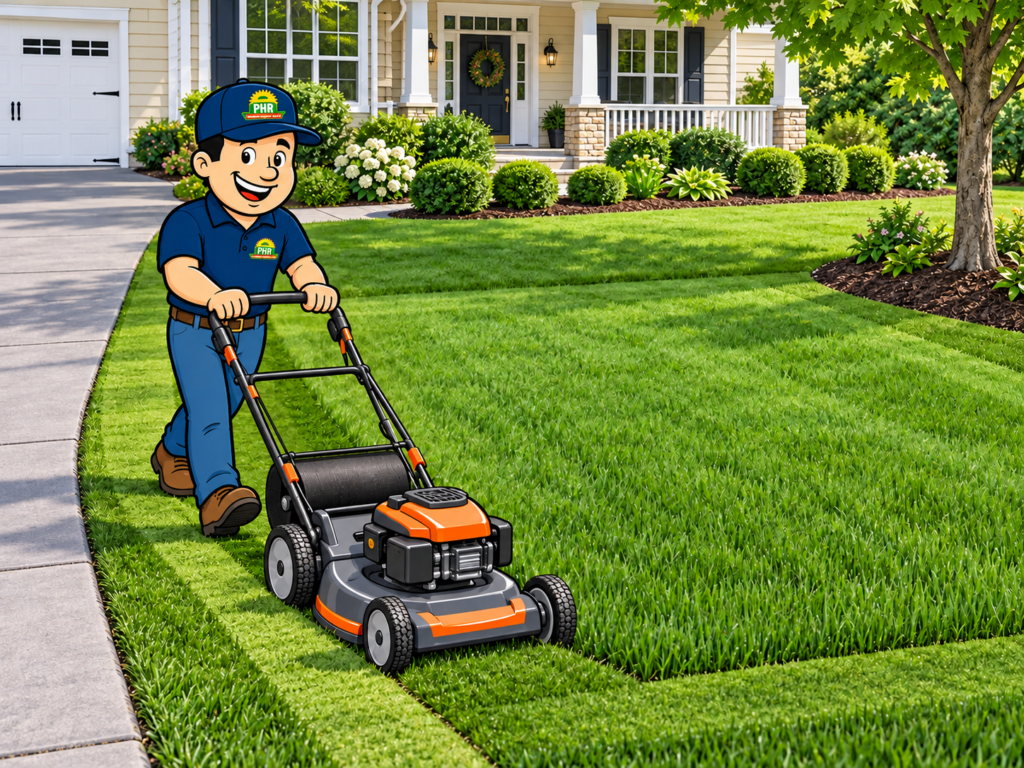
Mow the perimeter to define the area before working through the middle. Leave yourself enough room to turn without repeatedly crossing the ends of the main stripes.
Think of the border as the frame around the finished pattern.
On a small property, there may be limited turning space. Plan for that before your first long pass. It is easier to work within a sensible layout than to repair a crowded pattern afterward.
5. Make Your First Pass as Straight as Possible
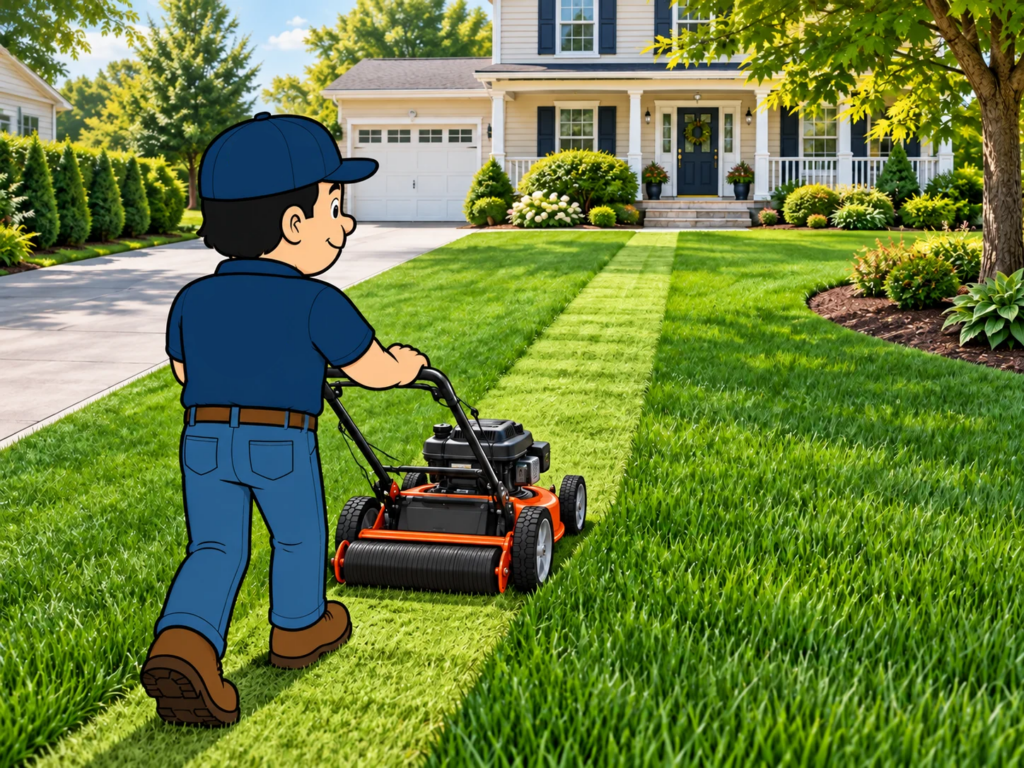
Your first row becomes the reference for the rows beside it.
Choose a fixed point at the far end of the pass and look ahead as you move toward it. A straight pavement edge can also help you establish the initial direction.
Keep your pace steady and avoid constant small steering corrections. Looking only at the grass immediately in front of the wheels makes it harder to see whether your overall route is drifting.
If the first line develops a noticeable curve, correct your starting reference early. Otherwise, each adjoining row can repeat the same bend.
6. Turn and Mow the Next Row in the Opposite Direction (Repeat!)
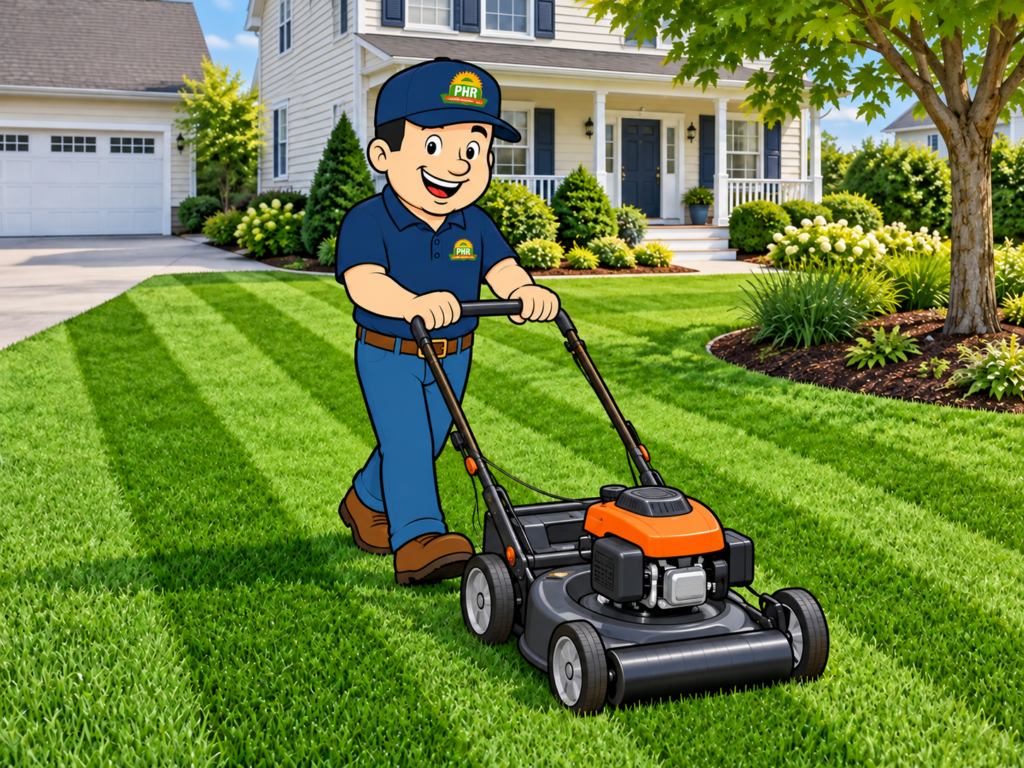
At the end of the first pass, turn within the available border and line up beside the row you just completed.
Travel back in the opposite direction, allowing a small, consistent overlap so you do not leave a narrow strip of uncut grass between passes.
Use the edge of the previous cut as your guide. The amount of overlap will depend on your mower’s cutting width and how accurately you can follow the line.
Continue across the lawn:
One row out, the next row back.
Consistent spacing matters more than speed. For your first few attempts, aim for an even rhythm and a clean cut.
7. Keep Turns Controlled and Handle Obstacles Deliberately
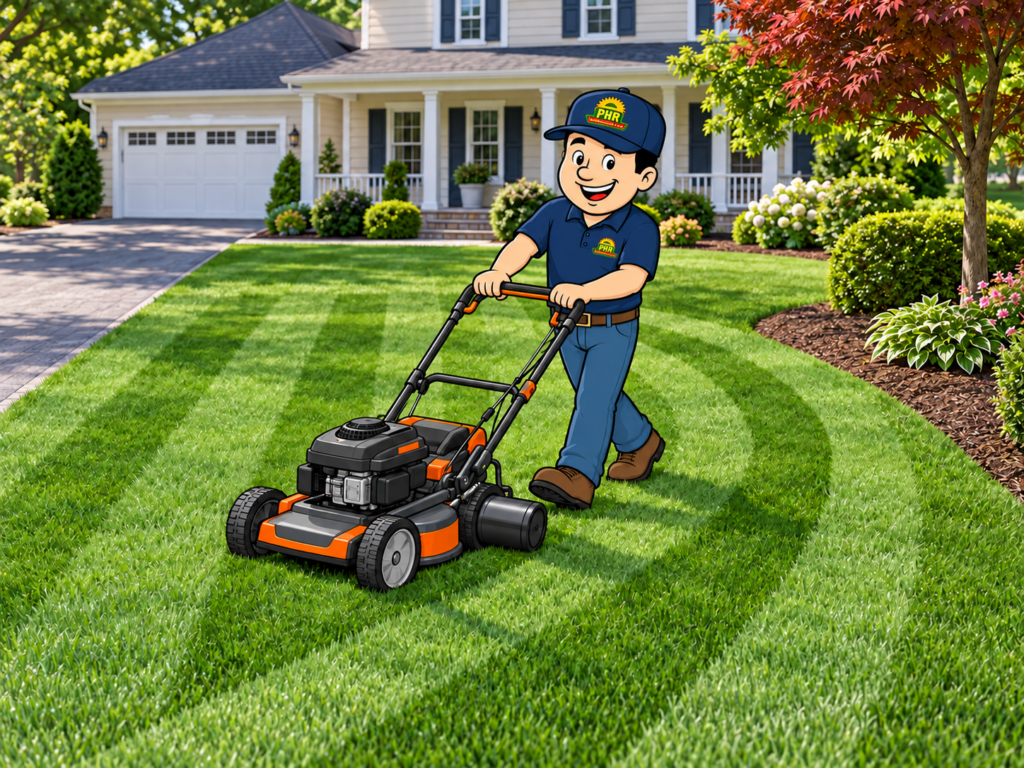
Slow down before turning. Avoid twisting the mower sharply enough to scrape or tear the grass.
Trees and landscape beds need their own plan. If an obstacle interrupts a row, use a fixed reference beyond it to resume the original alignment on the other side.
For a complicated lawn, it may be easier to treat separate areas as individual sections. A tidy pattern in each section can look better than forcing one continuous design through every narrow gap.
Keep mower wheels away from soft bed edges, exposed roots, and other areas that cannot support the equipment safely.
8. Finish the Edges and Admire the Result
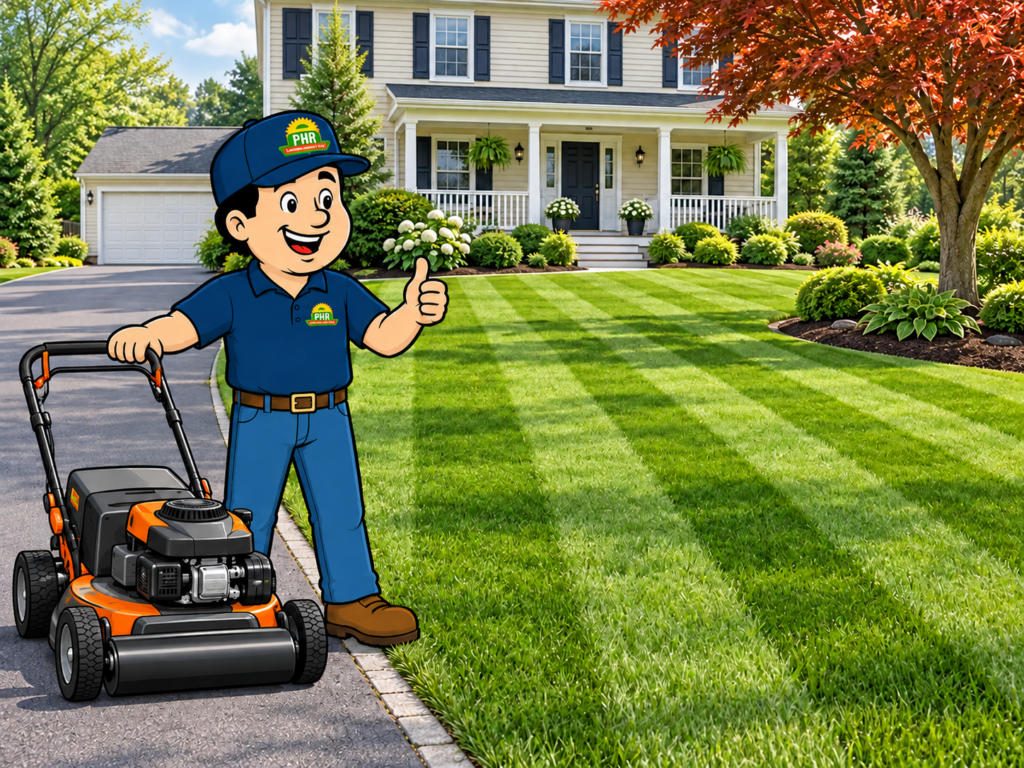
After completing the main rows, tidy the perimeter where needed and clear heavy clipping deposits.
Look at the lawn from the position you planned around. Then check it from another angle.
Ask three questions:
- Are the rows reasonably straight?
- Is their width consistent?
- Are the ends tidy?
Those observations will tell you more about your next improvement than simply deciding whether the stripes are dark enough.
A useful first-session goal is a consistent cut with straight rows and undamaged turns. Stronger contrast can come later.
Beginner Lawn Striping Patterns
Straight Stripes
Parallel, alternating passes are the best first pattern to learn.
They give you a clear way to judge alignment, spacing, and turns without adding extra planning. Use this pattern until you can repeat it comfortably.
Diagonal Stripes
A diagonal pattern uses the same alternating-pass technique, but the rows run at an angle to the property’s main edges.
Start with one deliberate reference line. The challenge is keeping the increasingly shorter passes near corners aligned with the longer rows through the center.
Checkerboard Patterns
A checkerboard-style finish involves crossing one set of parallel stripes with another set at right angles.
This requires additional passes and more careful planning. Treat it as an occasional experiment on a healthy, established lawn that can tolerate the traffic.
Keep the cutting height unchanged. If the first cut was already appropriate, lowering the deck for the second pass adds unnecessary grass removal.
Diamond Patterns
A diamond effect uses crossing diagonal passes.
It is a more demanding layout because small alignment errors become visible where the patterns meet. Learn straight and diagonal rows before moving to this design.
For many residential properties, a clean single-direction pattern already provides the finished look the homeowner wants.bed can create a more natural layered effect.
Keep Your Lawn Healthy Between Mowing Sessions
Change Your Mowing Direction
Alternate your mowing direction between sessions instead of using exactly the same wheel paths every time.
For example, switch from lengthwise passes to crosswise passes where the layout permits. University of Minnesota Extension recommends changing direction frequently to encourage upright growth and reduce repeated compaction and scalping.
Mow According to Growth
A weekly routine may suit some periods, but grass does not grow at the same rate throughout the season.
During active growth, you may need to mow more frequently to stay within the one-third rule. During slow growth or summer stress, the lawn may need less mowing.
Let the grass’s condition guide the schedule rather than cutting simply to refresh a fading pattern.
Keep the Blade Sharp
Inspect the cut leaf tips. A sharp blade produces a cleaner cut; a dull blade can leave shredded edges.
Follow the mower manufacturer’s maintenance instructions and address blade damage promptly. A straight stripe with ragged grass tips will still look unfinished up close.
Manage Clippings
Fine, evenly distributed clippings can remain on the lawn and return nutrients as they decompose. Heavy piles should be broken up or removed so they do not cover the grass beneath them.
Adjust for New Jersey Summer Conditions
PHR’s summer lawn-care guide for New Jersey covers mowing height, watering, and other seasonal considerations.
When the lawn is struggling through hot, dry weather, its condition should take priority over a decorative pattern. A reduced mowing routine may be appropriate when growth slows.
PHR’s Quick Notes: Lawn Striping Questions
Does Lawn Striping Make Grass Healthier?
The light-and-dark pattern itself is cosmetic. The mowing practices behind it – appropriate height, clean cuts, and changing direction, are what support good maintenance.
An attractive pattern should be the result of careful care, not the reason for excessive mowing.
Should I Cut the Dark Stripes Shorter?
No. Keep the cutting height consistent across the lawn.
The alternating appearance comes from the direction the leaves bend. Cutting rows at different heights creates uneven turf rather than the intended striping effect.
How Long Will Lawn Stripes Last?
There is no fixed duration. Growth, weather, foot traffic, and the next mowing all affect how long the pattern remains visible.
You may also notice the same stripes appearing stronger or weaker as the light changes.
Can I Stripe a Small Front Yard?
Yes. Begin with simple parallel rows and choose equipment that fits the space.
Give yourself room to turn, and avoid squeezing a complicated design into a lawn with only a few usable passes.
Should I Water the Lawn Before Striping?
Do not irrigate simply to prepare for striping. Water according to the lawn’s needs and plan mowing when the grass and ground are suitable.
Wet grass can create clipping problems, while saturated soil is vulnerable to wheel damage.
Can I Stripe Newly Seeded Grass or New Sod?
Prioritize establishment and follow the mowing guidance for the new lawn. Newly seeded grass and newly installed sod should not be treated like established turf ready for repeated decorative passes.
Our seed and sod guide explains why both need protection while establishing.
A Better-Looking Lawn Starts With a Better Mowing Routine
The first time you stripe a lawn, the rows may wander a little. The contrast may be lighter than expected. One end may look cleaner than the other.
That is a useful starting point.
Work on one improvement at a time: a straighter first pass, more consistent spacing, or a smoother turn. Take a photo from the same location after each mowing so you can compare your technique without relying on memory.
The finished appearance comes from those details working together. Straight rows catch the eye, but a consistent cut and a well-cared-for lawn make the result worth looking at.
Lawn Maintenance in Scotch Plains, Fanwood, Westfield and Surrounding NJ Areas
Enjoy the look of a freshly maintained lawn but would rather leave the mowing to a dependable local crew?
PHR Landscapes provides expert weekly lawn maintenance services for homeowners in Scotch Plains, Fanwood, Westfield, and surrounding communities. Whether you want help keeping up with routine maintenance or need to discuss a lawn that has become difficult to manage, we can help you plan the next step.

Maintaining a manicured landscape starts with consistent, professional care – and that’s where we come in!
💡 If you’re looking for a dependable, experienced landscaping services in Scotch Plains, Fanwood, Westfield, and Surrounding Areas, we’re here to help.
👉 Call PHR Today to Schedule Your Free Consultation
👉 Lawn Care in Westfield, Fanwood, Scotch Plains and Surrounding Areas
Share This Post with Friends & Colleagues

Follow us on Facebook @PHRLandscapes
Phone: (908) 322-6500
Email: sales@phrlandscapes.com
1590 E. 2nd Street, Scotch Plains, NJ 07076
